guide
How to screen record in Chrome on any computer
Chrome has no record button of its own on Mac or Windows, but every operating system ships a screen recorder that captures a Chrome window perfectly well. This guide covers the built-in options on macOS, Windows and ChromeOS, when an extension is the better choice, and how to record a bug so the video comes with the logs developers need.
Quick answer
How to screen record in Chrome
Use your computer's built-in recorder. Mac: press Shift+Cmd+5, pick Record Selected Window or Record Selected Portion, click Record. Windows 11: press Windows+Shift+R to record a region with Snipping Tool. Chromebook: press Shift+Ctrl+Show windows and choose Screen record. To capture just the tab with console and network logs, use a recording extension.
Does Chrome have a built-in screen recorder?
Not on Mac, Windows or Linux. Desktop Chrome can take screenshots from DevTools (see our full page screenshot guide) but it has no video recording command. On a Chromebook, screen recording is part of ChromeOS itself.
You may also see the Recorder panel in Chrome DevTools. Despite the name, it does not record video. It records user flows (clicks, typing and navigation) as steps you can replay, edit and export for testing. That is useful for automation, but it is not something you can send a client as a video.
How to screen record Chrome on a Mac
- Open the Chrome window you want to record and close tabs or notifications you do not want on video.
- Press Shift+Command+5 to open the Screenshot toolbar.
- Choose what to record: Record Entire Screen, Record Selected Portion (drag the frame around the Chrome window), or Record Selected Window on macOS Tahoe 26 and later.
- Set Options. Pick a Microphone to narrate, turn on Show Mouse Clicks so viewers see where you click, and choose a Save to location if you do not want the desktop.
- Click Record, then reproduce what you want to show.
- Stop with the stop button in the menu bar, or press Command+Control+Esc. The recording saves to your desktop as a .mov file.
QuickTime Player works too: choose File > New Screen Recording (Control+Command+N). Both open the same recording toolbar on current macOS.
How to screen record Chrome on Windows
Windows 11 has two built-in options. Snipping Tool is the better fit for browser recordings because you can choose any region of the screen.
- Press Windows+Shift+R to open the Snipping Tool recording overlay. You can also open Snipping Tool, select Record, then New.
- Drag a box around the Chrome window or the part of the page you want.
- Turn on audio if you want narration. If your version shows microphone and system audio buttons on the recording toolbar, enable them before starting.
- Select Start, wait for the countdown and reproduce the problem.
- Select Stop. The recording opens in Snipping Tool for preview. Save it as an MP4; with automatic saving on, recordings go to a Screen Recordings folder inside Videos.
Xbox Game Bar is the alternative. Press Windows+G to open it, then Windows+Alt+R to start and stop recording the active app, and Windows+Alt+M to toggle the microphone. Clips are saved as MP4 files in Videos > Captures. Game Bar records one app window at a time and cannot record the desktop or File Explorer, so make sure Chrome is focused when you start.
How to screen record on a Chromebook
- Press Shift+Ctrl+Show windows, or select the time at the bottom right and choose Screen capture. On an external keyboard without the Show windows key, use Ctrl+Shift+F5.
- Select Screen record in the toolbar at the bottom.
- Choose full screen, partial screen or window. Window is the simplest way to record only Chrome.
- Open Settings (gear icon) to choose audio input (microphone, device audio or both), turn on Show clicks and keys, or add the front camera.
- Start recording by clicking the screen, dragging an area or clicking the window.
- Select Stop recording at the bottom right. Videos save as .webm files to Downloads by default.
Partial-screen recordings can also be saved as a GIF, which plays inline almost anywhere but has no sound.
Built-in recorders vs. extensions
| Method | Shortcut | Records | Output |
|---|---|---|---|
| macOS Screenshot toolbar | Shift+Cmd+5 | Screen, window or region, with mic | .mov on the desktop |
| Windows Snipping Tool | Windows+Shift+R | Any region | MP4 |
| Xbox Game Bar | Windows+Alt+R | The active app window | MP4 in Videos > Captures |
| ChromeOS screen capture | Shift+Ctrl+Show windows | Screen, window or region | .webm or .gif in Downloads |
| Chrome extension | Varies | Usually the current tab, sometimes screen or camera | Varies, often WebM |
Built-in recorders are free and need no installation. An extension makes sense when you want to record only the tab (so notifications and other windows stay private), keep recording across page loads, or attach technical context to the video. Before installing one, check where it stores videos: some upload every recording to their cloud by default.
Recording a bug: what the video should show
- Start just before the problem. A 20-second clip that begins on the page before the bug beats three minutes of navigation.
- Show the address bar, or say the URL out loud, so viewers know which page and environment it is.
- Narrate: "I enter the promo code, click Apply, and the total does not change." Expected versus actual, spoken.
- Move slowly and pause on the moment it breaks so the frame is easy to find.
- Hide private data. Close other tabs, turn on Do Not Disturb, and avoid real customer records.
- Add text with it. Paste the URL, steps and time into the ticket. Our guide on how to report a bug on a website has a plain-English template.
A video shows the symptom, not the cause. When something fails rather than just looks wrong, developers also need the console errors and the failing request from the same moment. Record with DevTools open, then save the console log and export a HAR file right after you stop recording.
The faster way: Bugmark
Juggling a screen recorder, DevTools and two export files for every bug is slow. Bugmark is a Chrome extension that records the tab and attaches the technical context from the same session.
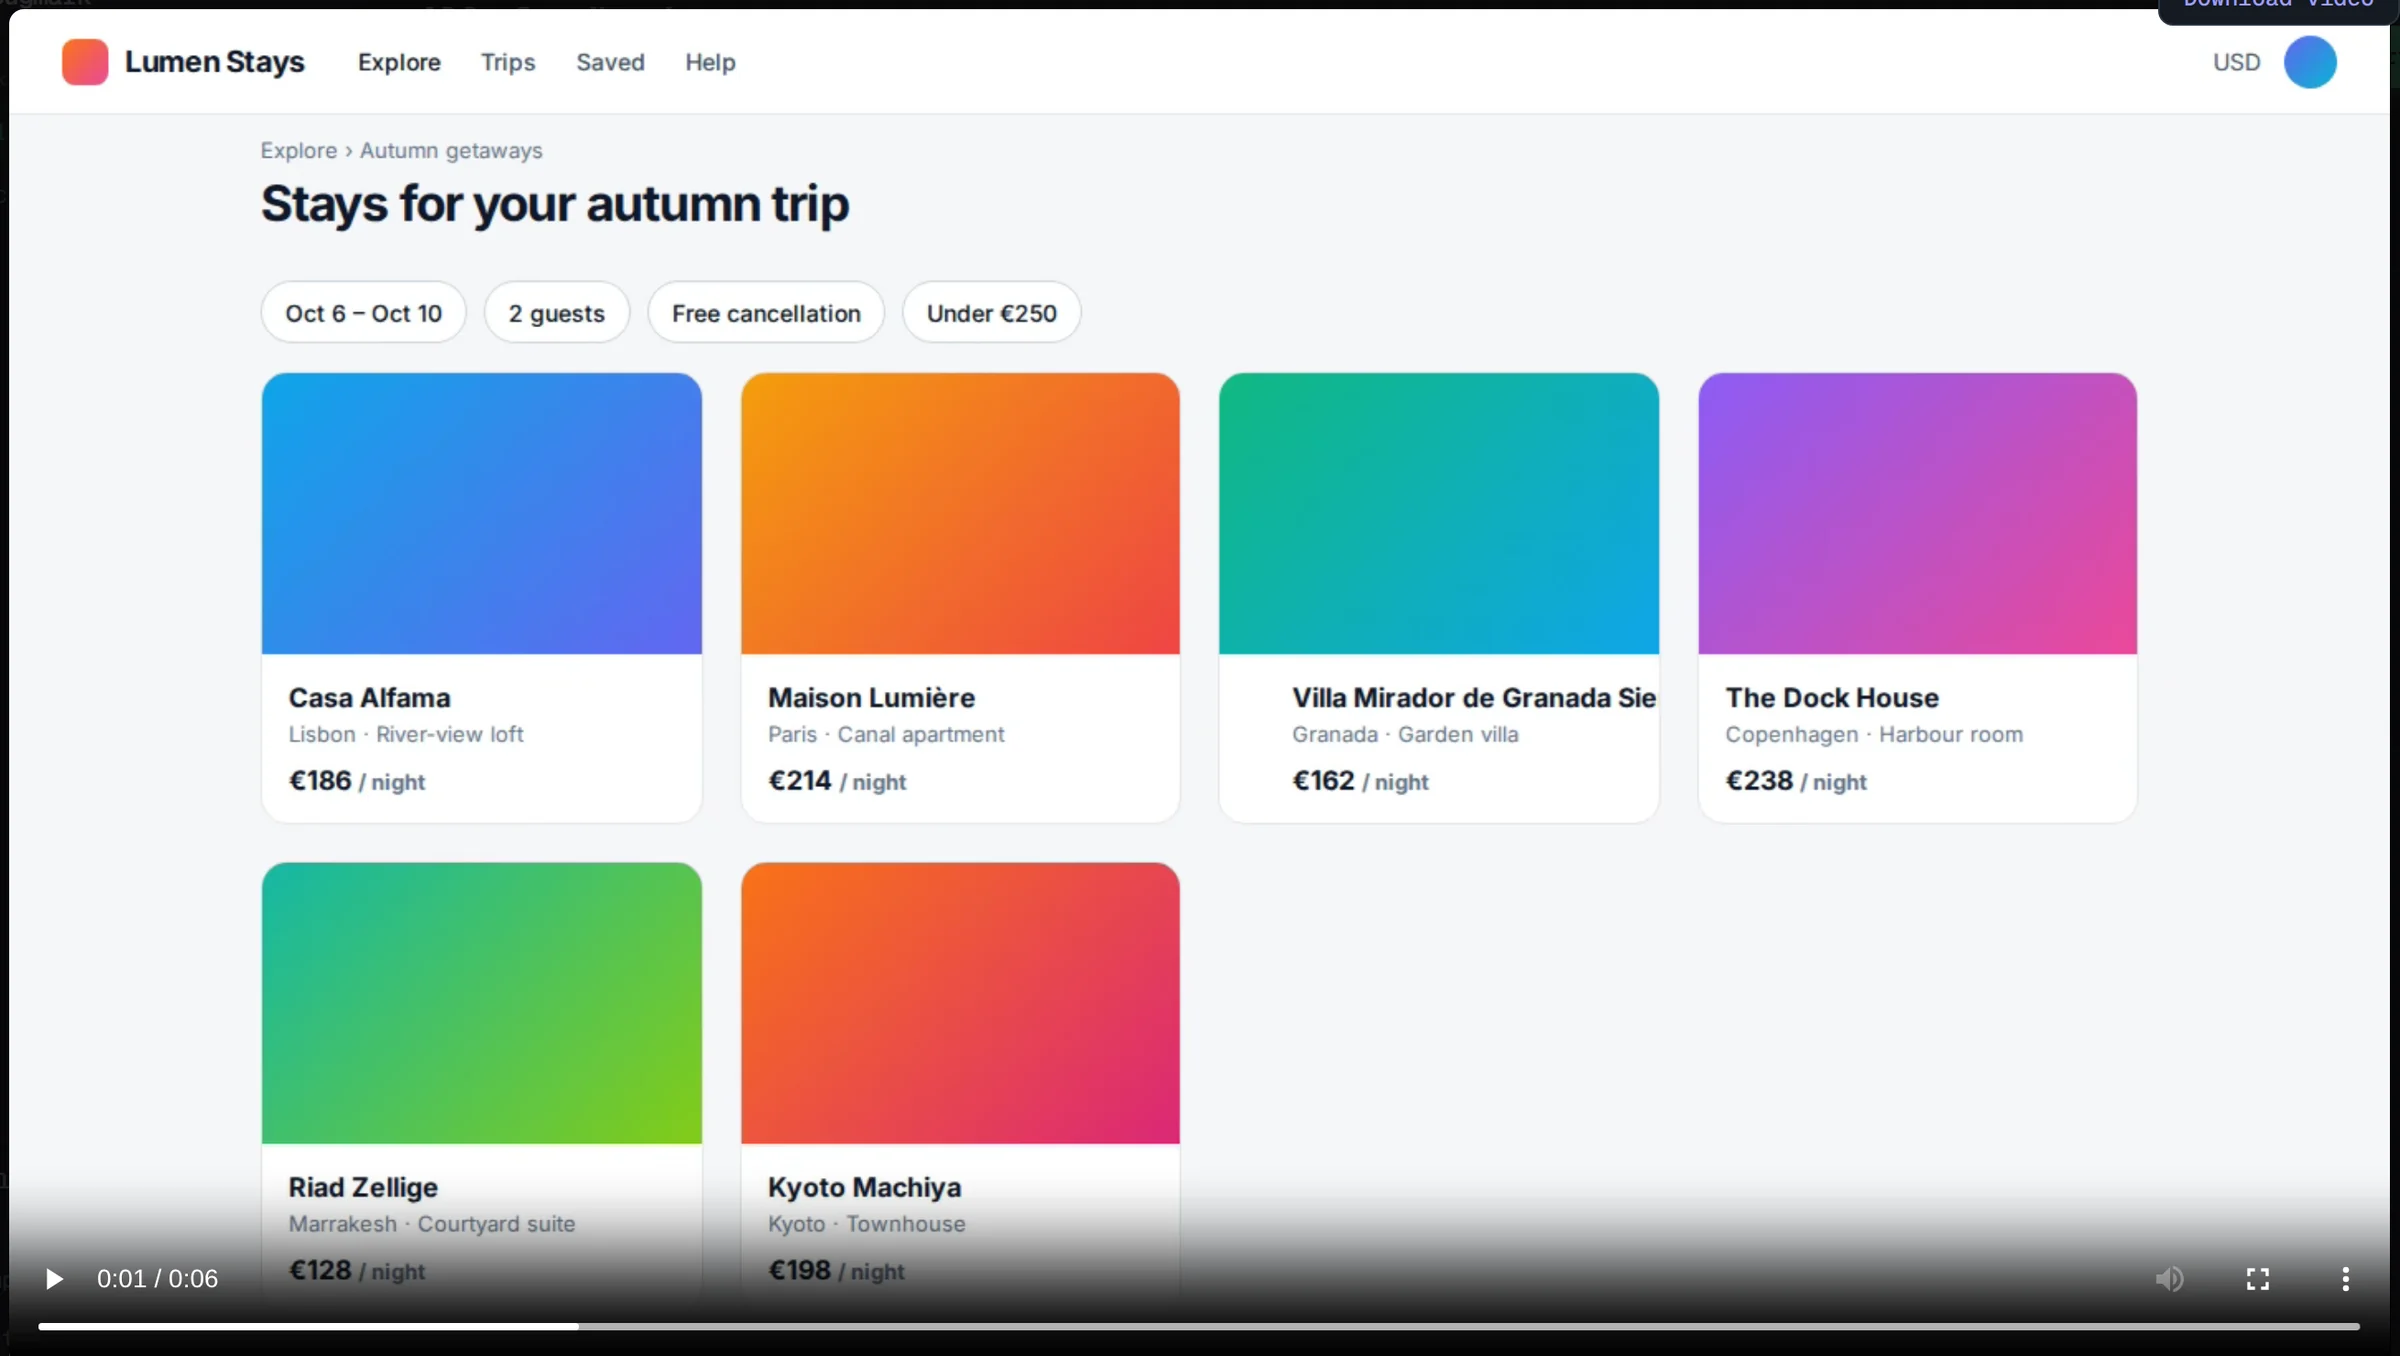
- Press Alt+Shift+R (⌥⇧R) or choose Record video from the capture menu to record the tab as WebM video, up to 5 minutes, with microphone narration.
- The recording continues across page loads, so login redirects and multi-page checkouts fit in one video.
- The last 150 console messages with JavaScript errors, and the last 150 network requests with payloads and response bodies for recent fetch/XHR calls, are attached automatically.
- The last 30 actions become editable steps to reproduce, alongside URL, browser, OS and viewport.
- Recordings play back in the report and in exported HTML reports, and can be attached to GitHub issues.
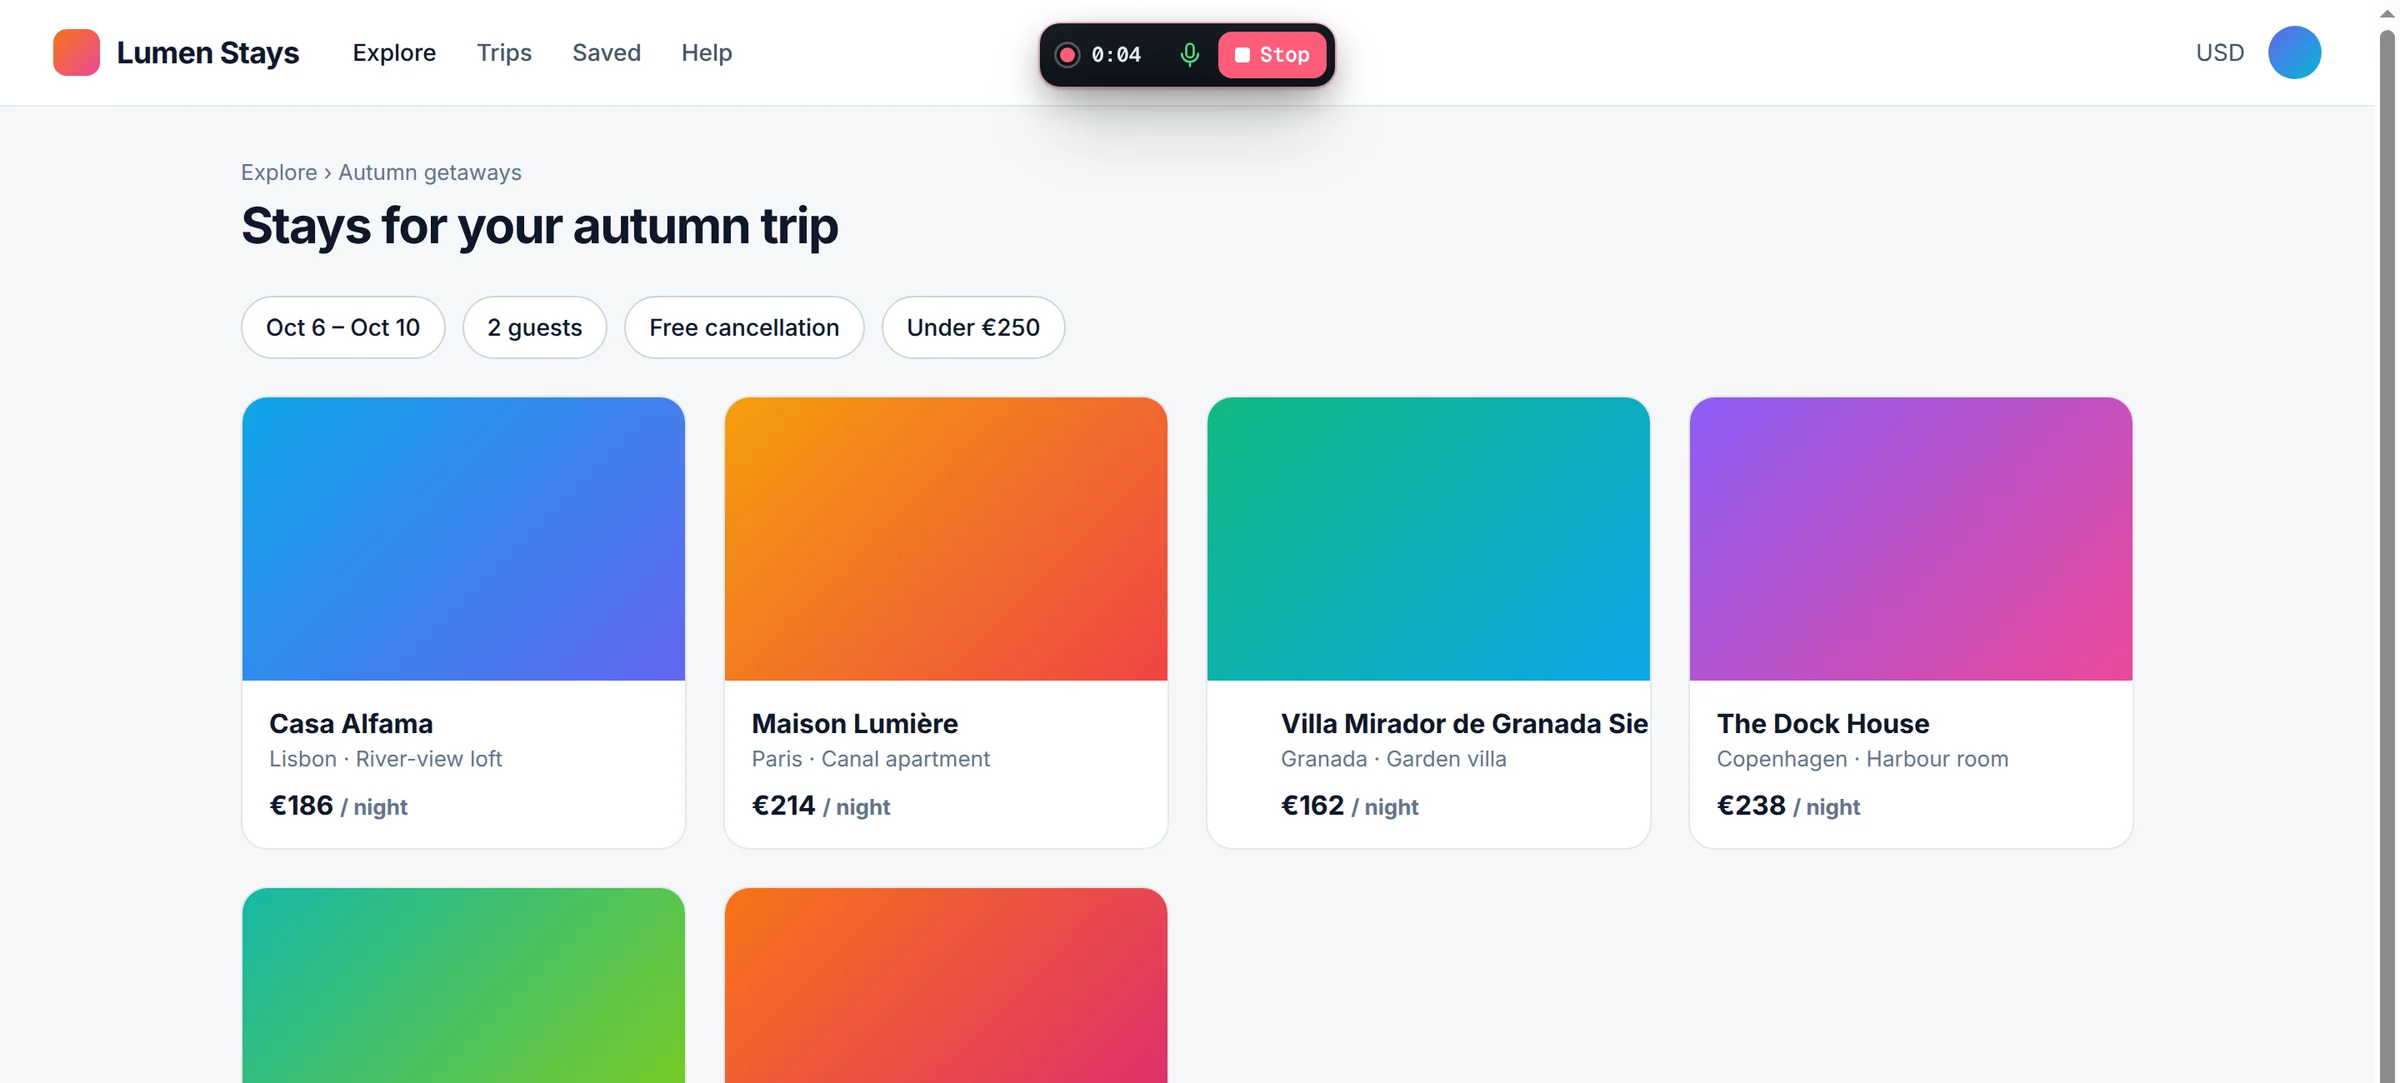
Recordings are stored locally in your browser, not uploaded to Bugmark servers. Bugmark is free to try with every feature unlocked, up to 2 saved reports at a time; a one-time $15 payment removes the limit, with no subscription or account. Add Bugmark to Chrome
How to screen record in Chrome
- 1
Prepare the Chrome window
Open the page, close unrelated tabs and turn on Do Not Disturb.
- 2
Open your system recorder
Press Shift+Command+5 on Mac, Windows+Shift+R on Windows 11, or Shift+Ctrl+Show windows on a Chromebook.
- 3
Choose the area
Select the Chrome window or drag a region around the part of the page to record.
- 4
Turn on audio
Choose a microphone in the recorder options if you want to narrate.
- 5
Record the problem
Start recording, then reproduce what you want to show while describing it.
- 6
Stop and save
Stop the recording and find the video in its save location: desktop, Videos or Downloads.
- 7
Attach context
Share the video with the URL and steps, plus console errors and a HAR file for bugs.
Frequently asked questions
Can you screen record in Chrome without an extension?
Yes, by using the recorder built into your operating system. On a Mac press Shift+Command+5, on Windows 11 press Windows+Shift+R for Snipping Tool, and on a Chromebook press Shift+Ctrl+Show windows and choose Screen record. Desktop Chrome itself has no video recording button.
How do I screen record Chrome with audio?
On a Mac, choose a microphone in the Options menu of the Shift+Command+5 toolbar. On a Chromebook, open the screen capture settings and pick microphone, device audio or both. On Windows, Xbox Game Bar toggles the microphone with Windows+Alt+M. Many tab recording extensions also support microphone narration.
How do I record only one Chrome tab?
Built-in recorders capture a window or region, so maximize the tab or drag the recording area around it. To record the tab itself, so other windows and notifications never appear, use a tab recording extension. Some, including Bugmark, keep recording when the page reloads or navigates.
Where are screen recordings saved?
On a Mac, recordings save to the desktop as .mov files unless you change Save to in Options. Xbox Game Bar saves MP4 files to Videos > Captures. Snipping Tool saves MP4 files, by default to Videos > Screen Recordings when automatic saving is on. Chromebooks save .webm files to Downloads.
What is the Recorder panel in Chrome DevTools?
The Recorder panel records user flows, meaning clicks, typing and navigation, as steps you can replay, edit and export for testing and performance measurement. It does not create a video. To record what is on screen, use your operating system recorder or a screen recording extension.
Try Bugmark free — no account needed
- Screenshots & screen recording
- Console & network logs
- Steps to reproduce
- GitHub issues & reports